These steps walk through how to create a polygon boundary in Google Earth Pro and export it as a KML or KMZ file.
Step-by-step instructions
- If you do not already have it installed, download Google Earth Pro on desktop. Open the program and find your site by entering the street address or the latitude and longitude in the search bar at the upper left, then click Search.
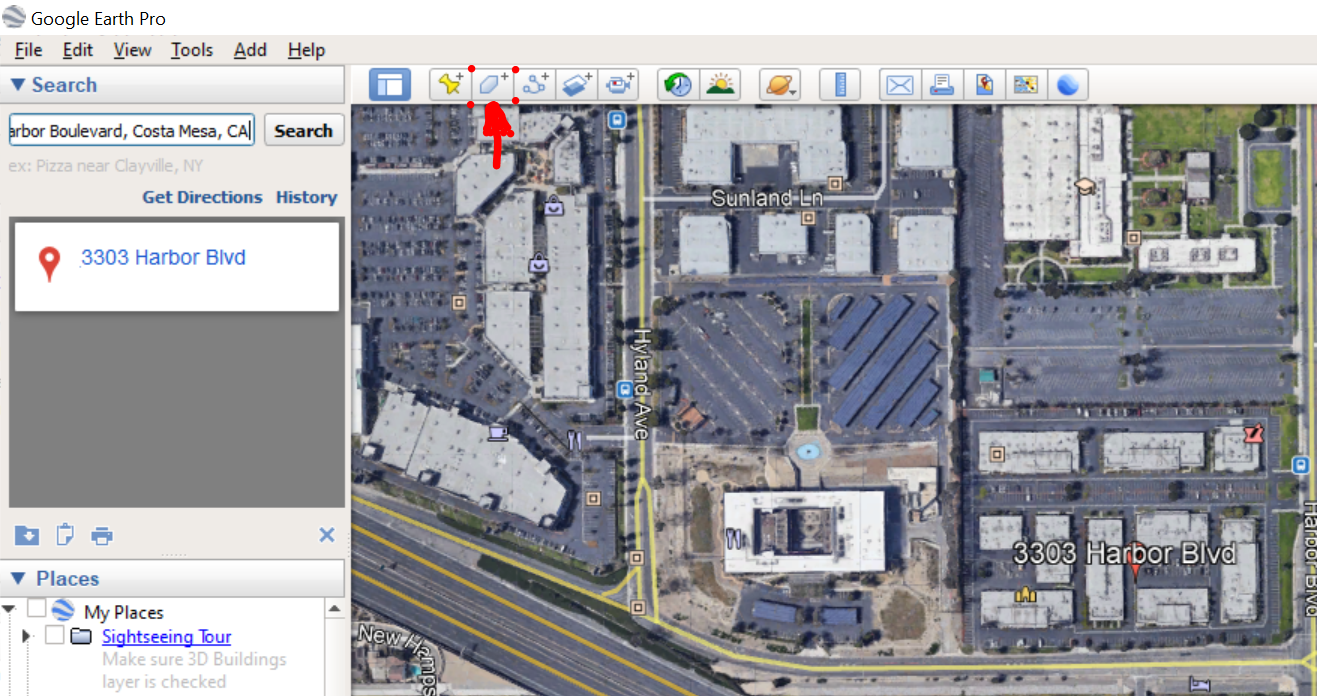
- Once you are at the correct location, open the Add menu and click Polygon. You can also click the New Polygon icon in the top toolbar.
- When the New Polygon window opens, enter a name for the polygon. Use the project name so the exported file is easy to identify later.
- Open the Style, Color tab. Set a visible line color and line width, then set Area to Outlined so you can still see the imagery while you draw. A common setup is yellow with a width of 5.0.
- With the polygon window still open, left-click around the perimeter of the area you want to include. Each click adds a new vertex. Continue clicking until the full project boundary is enclosed by the polygon.
- When the boundary is complete, right-click the polygon on the map or right-click the highlighted polygon under My Places, then choose Save Place As….
- Save the file as either a KML or a KMZ.
Tips:
- Create a polygon, not a path. A path does not define an enclosed project area.
- Make sure your polygon boundary is precise - Keep in mind that our team will draft exactly to the limits of the boundary you provide.
- If your drafting area is smaller than your overall flight area, create a drafting boundary and a flight boundary.
- You can save multiple boundaries as a single file by placing them inside a folder and saving that folder as a KML/KMZ.